
How to Setup ANY VAPE KIT! - The perfect Guide to START VAPING!!

This is the best guide out there to set up your new vape kit! This guide will help you setup SMOK vapes, Innokin, VGOD, and many more!
HOW TO SETUP ANY VAPE KIT!
Hey everyone! Today we wanted to show you how to setup ANY vape kit that you get! After years of trying out tons of different mods and tanks, I’ve noticed companies have almost all gone to a universal layout making it easy for anyone to pick up a new vape and get it going. We’ll go over everything from setting up your tank, using the device, and charging!
The Tank
The first thing to do with any kit is get your tank ready, that way when everything is setup you’ll be ready to vape!
- The first thing to do when you take your tank out of the box is to make sure the coil is secure. First take your tank apart by unscrewing the base, then unscrew your coil, and screw it back in. If your tank uses pressfit coils, then the process is even easier! (This is also the same process you’ll follow when replacing your coil in the future!) Now that you know your coil is making good contact, reassemble the tank, and begin the filling process.
- The most common filling styles are twist-off caps, and sliding caps, however there are some tanks that are more unique with twisting caps that reveal ports, pull caps, etc.! On all tanks you need to avoid putting juice down the center chimney because that’s where the vapor is travelling from, if you do you’ll get a mouthful of juice and juice leaking from your airflow slots!
Now that your tank is filled with a brand new coil, you’re going to want to let the coil soak for 5-10 minutes to make sure that the cotton inside is saturated so it won’t get burnt when you fire it! After your first fill on a new coil, you won’t need to wait more than 30 seconds to start vaping.
The Device
You’re almost ready! Setting up your mod can seem very intimidating, especially when they’re packed with lots of features. Most settings on your vape won’t need to be changed, and features like temperature control aren’t even used by most as they require more fine tuning and specific wire to work correctly. Now let’s get started!
- Putting in your batteries in your device. If your mod has built-in batteries, you can skip this step!
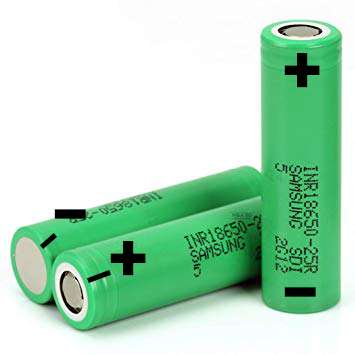
- If your device takes external batteries, open the battery compartment (this can be a panel on the device, a door, etc.) and insert them. Follow the diagram in the compartment, the flat end of your battery is the negative, making the other end positive!
- IMPORTANT TO NOTE! If you see tears or other exposed metal on the battery, we DO NOT recommend using them. Make sure to bring it to our shop and we’ll re-wrap them for free
- Turning it on! In almost every device, it’s as simple as quickly pressing the fire button 5 times! There are exceptions, of course, some devices are only 3 clicks, and sometimes even have a on/off switch! The same process is done to turn off or sometimes lock/unlock the device.
- Changing settings and navigating the menu. If you accidentally switched your settings or want to dig deeper into your device, you’ll need to know how to change them on the fly!
- With all standard vape coils using Kanthal, Stainless steel, or Nichome80 for heating, you’ll want to be in the Wattage or “Power” mode! If you’re not in this mode, you’ll want to switch it following these steps!
- The most common method is clicking the fire button 3 times. This will either bring you to the next mode, a menu screen or may bring up flashing bars letting you change certain parts on the screen!
- If your device goes to a menu screen, use the smaller buttons to scroll through the settings. Generally, you’ll need to click and hold on an option to select it, which is very commonly seen in SMOK devices!
- Now that you’re in the correct setting, all that’s left is screwing on your tank and adjusting your wattage using the small buttons, make sure to read the coil to see what it’s recommended wattage range is!
You’re ready to VAPE!...Now how do you charge it? When your vape’s batteries finally run out, you’ll need to make sure you’re properly charging it to make sure you don’t damage the internals or batteries!
- USB Charging: When you use a USB port to charge your device, it’s important to use a port that outputs 1A (1000mA) or less! The best examples are your laptop/computer, game console, TV boxes, but if you want a wall outlet, make sure to read the output levels on the back of the block! Charging faster than 1A can sometimes mess up your batteries or even the internals on your device, so make sure to stay below. Avoid Apple, and other smartphone chargers as they push out way too much power!
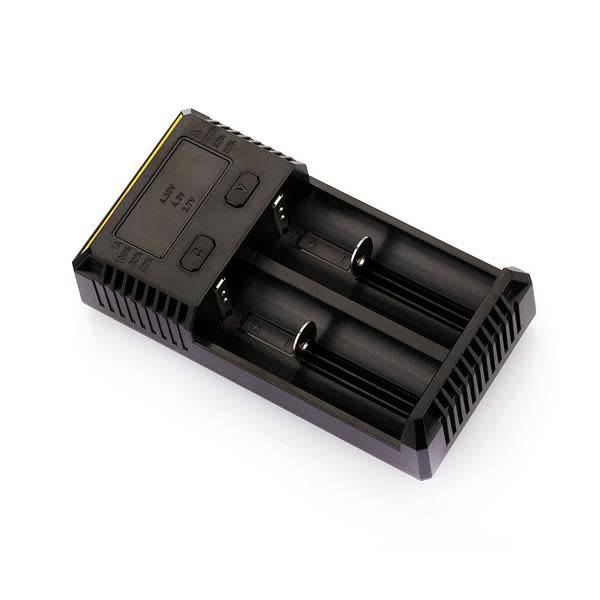
- External battery chargers: If your device uses external batteries, the best way to charge them is using an external charger! These will give you the best and fastest charge, giving you better day-to-day life and give you the best overall lifespan of a battery!
Now you know everything you need to know about setting up your new kit, so get out there and start vaping!
Don’t forget to follow us on social media, that way you’ll be the first to know about all the latest giveaways, sales, and other awesome news with Flamingo!
Facebook: https://www.facebook.com/flamingovapeshop/
Instagram: https://www.instagram.com/flamingovape/
Snapchat: flamingo_vape


Comments
Be the first to comment...